Friday, April 29, 2011

Stripping Valeria to the bone...

So this blog thing is harder than the vespa repair. It takes a long time and a lot of effort to stop what I am doing and take pictures and then write about it. I think I will have to do a post blog blog, and hope that my memory and the pictures I am taking are sufficient! In any case, let this pics do the talking. Check out the link for my picassa page for even more pics. Some serious work has been done, and my baby has been christened Valeria. You can see my workshop scattered with tools, random parts in various stages of (dis)repair and restoration. Good news is the body is all ready for metalwork and then paint. Bad news is that costs a lot of money so its going to have to wait. In the meantime I'm waiting for many many replacement parts from assorted online vendors. Hopefully in a week or so I will be getting the engine up and running. We'll see...

Thursday, April 21, 2011

When patience runs thin, shit gets broke

It was high time I broke something. It had been far too easy to get things apart, catalogue them and organize them for reassembly. That is until I met the true force behind any combustion engine, the piston. Thank god theres only one of these things on my little vespa. Simple enough to remove the cylinder head and cylinder, just a couple bolts and screws.


Then with the piston and connecting rod exposed the first thing is to remove the snap rings from either side of the piston on the wristpin. At this point, the wristpin itself must be removed before the piston comes free. Its tight as frogs ass underwater. The haynes manual says to wrap it with a rag soaked in warm water to loosen it up. This helped a little bit as I tried to ease it out. The book also said to use a rubber mallet, which I did. However, I got frustrated and just started banging away. When I finally realized the importacne of securing the piston while I banged away at the wristpin I got the piston out, but not with out some damage first :/ Some of it was there before me, some of it was not. Nevertheless, lesson learned, if its not moving easily, your doing it wrong.

Clutch rebuild

At this point I was feeling pretty confident of my mechanics skills so I decided to tackle something more significant: the Clutch. With the handy dandy tool the guy at the scooter store let me borrow this was a snap. 
The difficult part was removing the snap ring from inside the back lip of the clutch to expose the clutch plates and the springs. Using a vice to compress the gears is the easiest way. Then remove all the clutch plates and replace with the new ones, in the same order: cork plate, gear, cork plate, gear...springs. There should be three cork plates and two all metal gear plates. Mine is a standard 6 spring clutch (behind each of those round looking buttons is a spring). Then using the vice again to compress the springs you can replace the snap ring and shes ready to go! See below alongside the rebuilt carb and cleaned up brake shoes:

Flywheel and Brakes removal

So after getting past my little stripped screw incident I have had pretty smooth sailing in the disassembly process. I managed to get off the flywheel magneto fairly simply. Just leave the snap ring (circlip in british english, also the language used in my haynes manual) and slowly loosen the self extracting nut. It just popped off!

Then onto the rear brakes. They were easy enough, just remove the snap rings on the brake shoes, compress them to loosen up the spring on the other side and slip them off the their respective bolts.


Saturday, April 16, 2011

Pics on the web!

So I've only been posting the most pertinent pics on here, but to see the whole progression go to my picassa webpage for all the images! Picass Album

Screw Extractor, random disassembly

So after rebuilding the carb I got stuck for a few days thanks to a nicely stripped countersunk aluminum retaining screw in the air filter box. 
This is where I learned of the gloriousness that is a 'screw extractor' or a left threaded screw. Thanks to the drill from dad and the titanium bit, I drilled a little hole in the screw and with a pair of vice grips she came right out! VICTORY! 

In the meantime, I had got frustrated so I started doing things I knew I could accomplish, like disassembly of random parts and their cataloging for later reassembly. See pics.
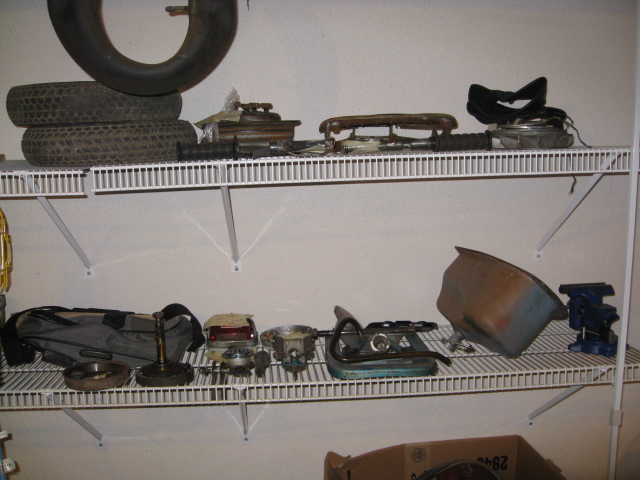
You probably cant read or see it from the pic but this is in italian and is very visibly the original inner tube, which still holds air. Better believe thats goin back in!

Carb rebuild

So this is was my first real test of mechanical savvy. Thank goodness it was the most straighforward and everything was more or less intact when I got there. A quick soak with some carb cleaner and she was ready to be put back together. I replaced the necessary seals, the float and rearranged the air jets, though I am still waiting for another package with the Carb Jets cover. When she arrives you bet there will be pics.